Certificates from Let’s Encrypt for Splunk Web
Certificates from Let’s Encrypt for Splunk Web
In this blog post you will learn how to use certificates from Let’s Encrypt for Splunk Web.
We recommend you watch the accompanying YouTube video „Let’s Encrypt für Splunk Web – SSL-Zertifikate in fünf Minuten“ for visual examples and a more detailed explanation (only available in german).
Requirements
First, we make sure that the server has a publicly accessible IP address and that we have administrator access to it. In addition, we also need to check the firewall to see if it allows incoming traffic, for example. But more about that later.
Installation of Certbot
A very popular and simple option is provided by the Let’s Encrypt client Certbot. If these instructions do not work for your operating system, you can find a link to instructions for other operating systems here.
We first connect to our server via SSH. Of course, we do this with a user who has admin rights.
Our first step is to install snapd. In our case, this works via:
Here we can view installation instructions customized for our operating system.
After the installation, we still need to make sure that the latest version of snapd is installed. To do this, we simply run the following commands:
Once we installed snapd with an operating system package manager like apt, yum or dnf, we must not forget to remove certbot-auto and the operating system packages before installing certbot-snap. This ensures that when the `certbot’ command is executed, the snap is used and not the version from the operating system’s package manager. So in our case, we run the following command:
Then we run the following commands to install Certbot and afterward to make the certbot command executable:
To perform the next steps, we first need to check our firewall and allow incoming traffic on port 80/TCP.
The default port for HTTP is port 80, which means that normally unencrypted web servers run on this port. These would have to be stopped so that Certbot can then communicate via this port. However, since Splunk runs on port 8000, this is not necessary for us.
Depending on which solution you use, the commands may look like this or different:
Now we can run Certbot with the following command and in the dialog we will be asked to specify the DNS of our website and an email address where we can be reached to be automatically notified when our certificate is about to expire.
Then we delete the rule again that allows incoming traffic on port 80.
Making certificates usable for Splunk
In ~/etc/letsencrypt/live// we now find the certificates from Let’s Encrypt. In order for Splunk to work with these certificates, we need to copy fullchain.pem and privkey.pem to the file tree under Splunk. To do this, we first create a folder under the following path and copy the required certificates to it:
We switch to the directory $SPLUNK_HOME/etc/system/local/ and edit the file web.conf so that the correct paths point show to privkey.pem and fullchain.pem.
$SPLUNK_HOME/etc/system/local/web.conf:
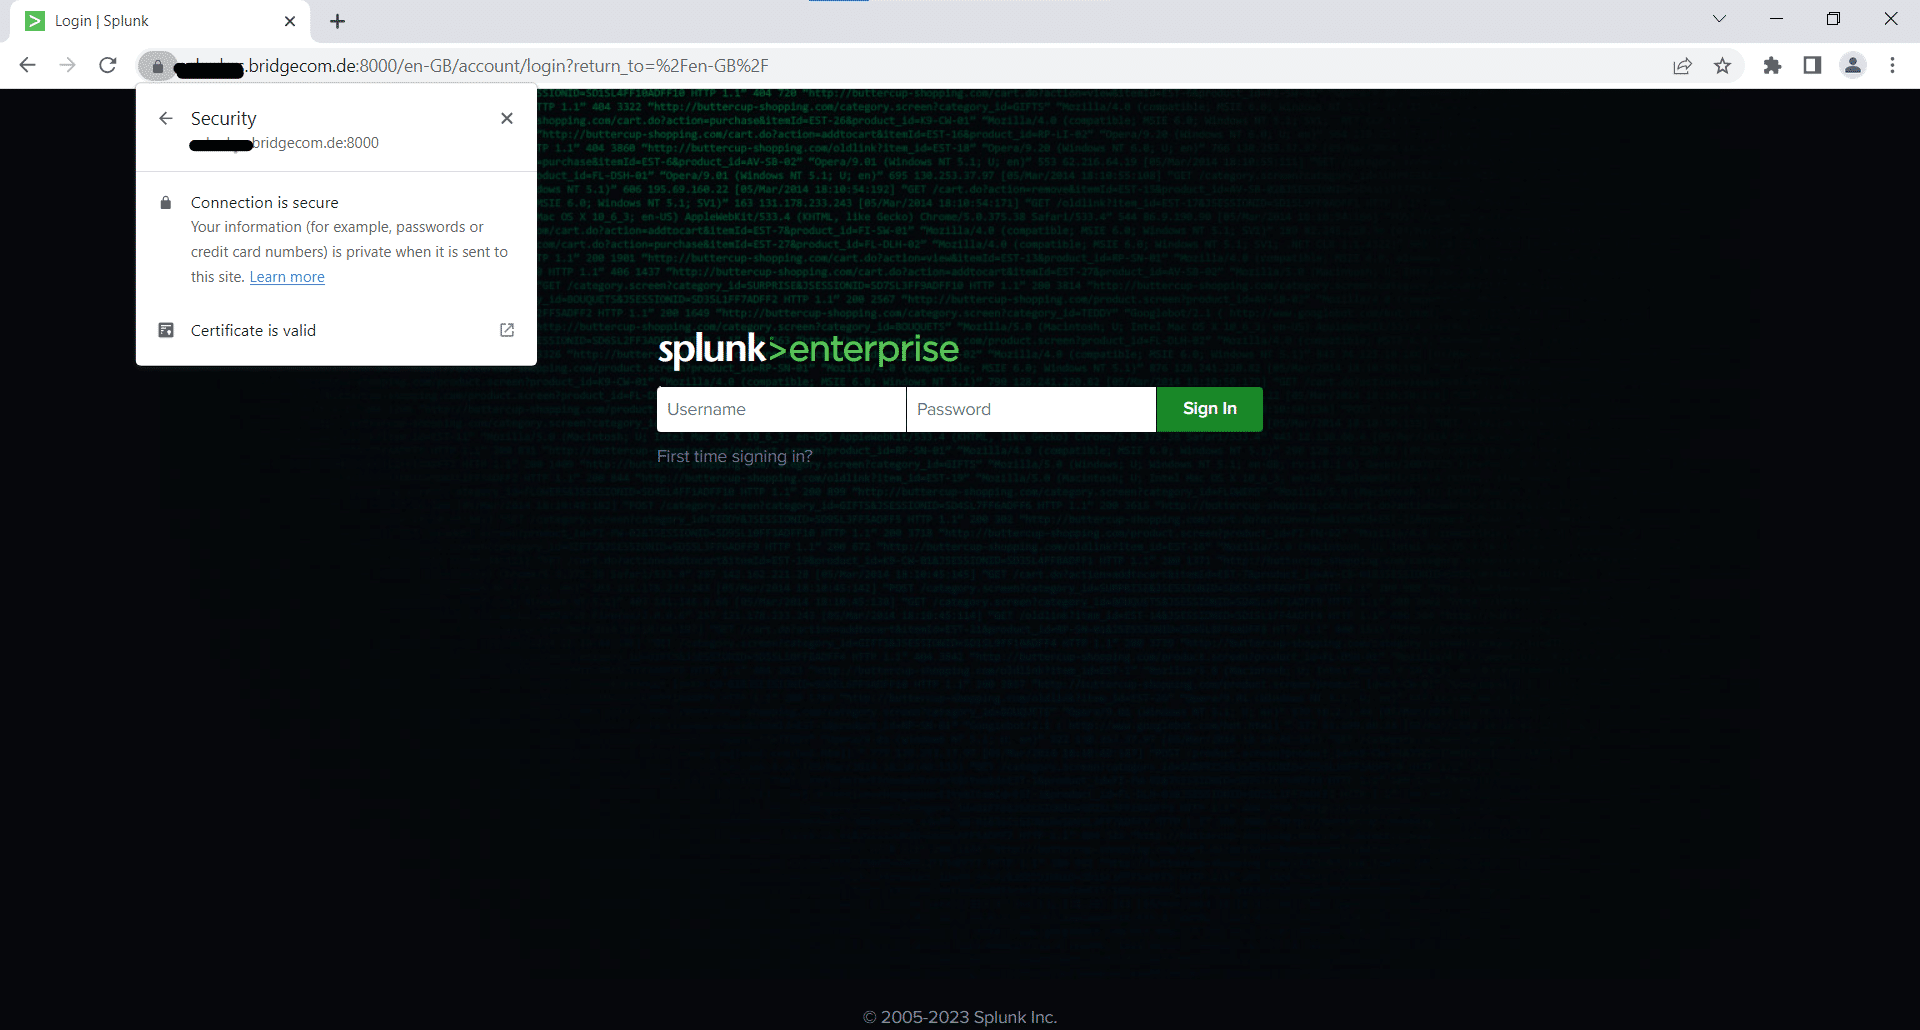
After restarting Splunk, when we open the web page in the browser, we can see the closed lock on the left of the URL bar and clicking on it indicates that the connection is secure and the certificate is valid.

Set up automated renewal of the certificate
We create a cronjob to set up an automated renewal of the certificate for our website. In our case, we want to run this cronjob every Sunday at 2am. So wen run the command crontab -e and write the following line in the called file:
The shell script that is called for the cronjob first calls the certificate renewal command and then tests if the certificate has actually been renewed. The command renews the certificate only if it falls below a validity of 30 days.
Then, once the certificate has actually been renewed, we still copy the required new certificates to the Splunk usable location and make sure that the new files are also owned by the Splunk executing user. This must of course still be replaced in the following.

